Smile. Or don’t. It’s up to you.
We offer a full range of portraiture and studio services.
Headshots
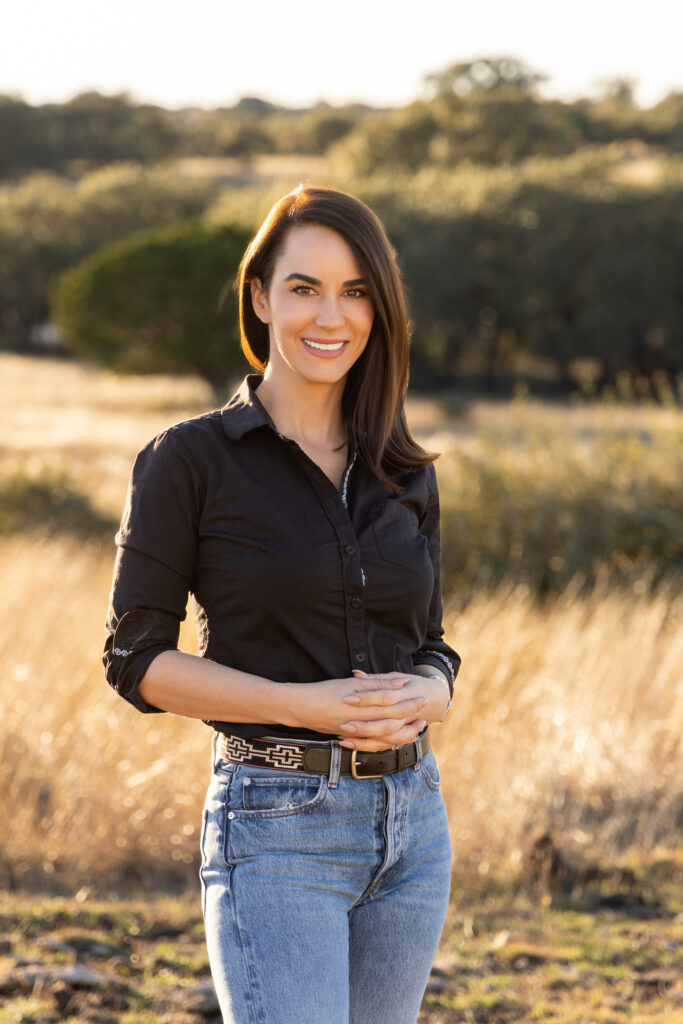
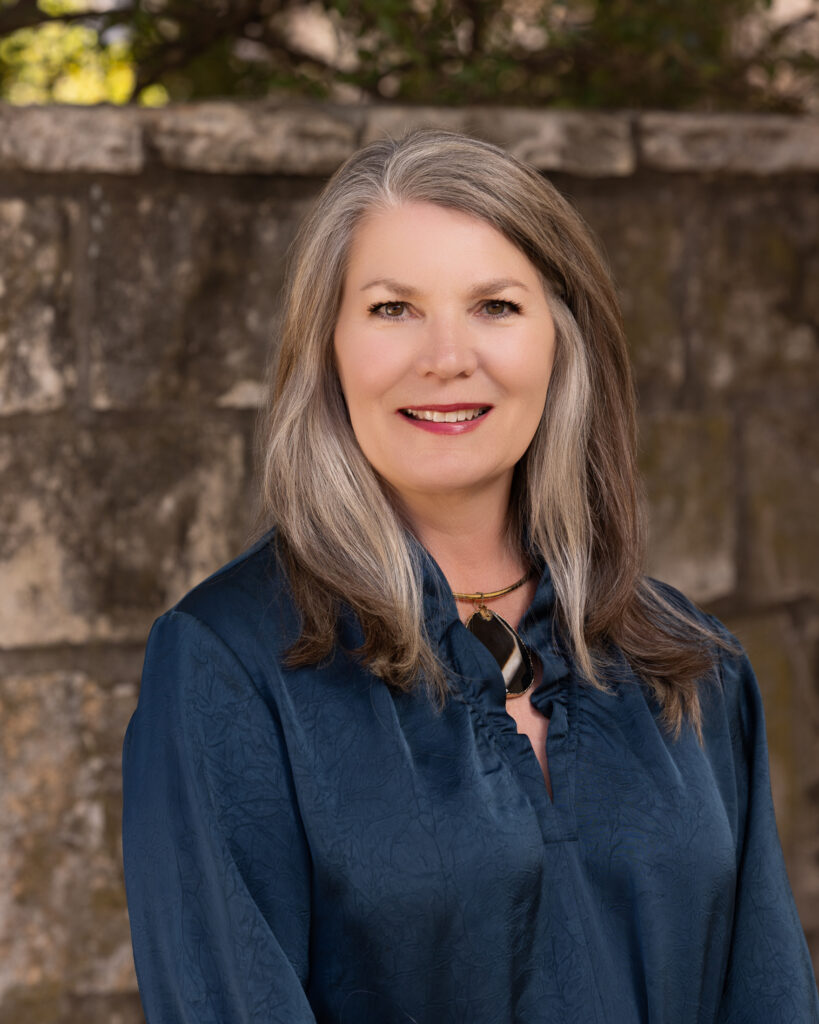
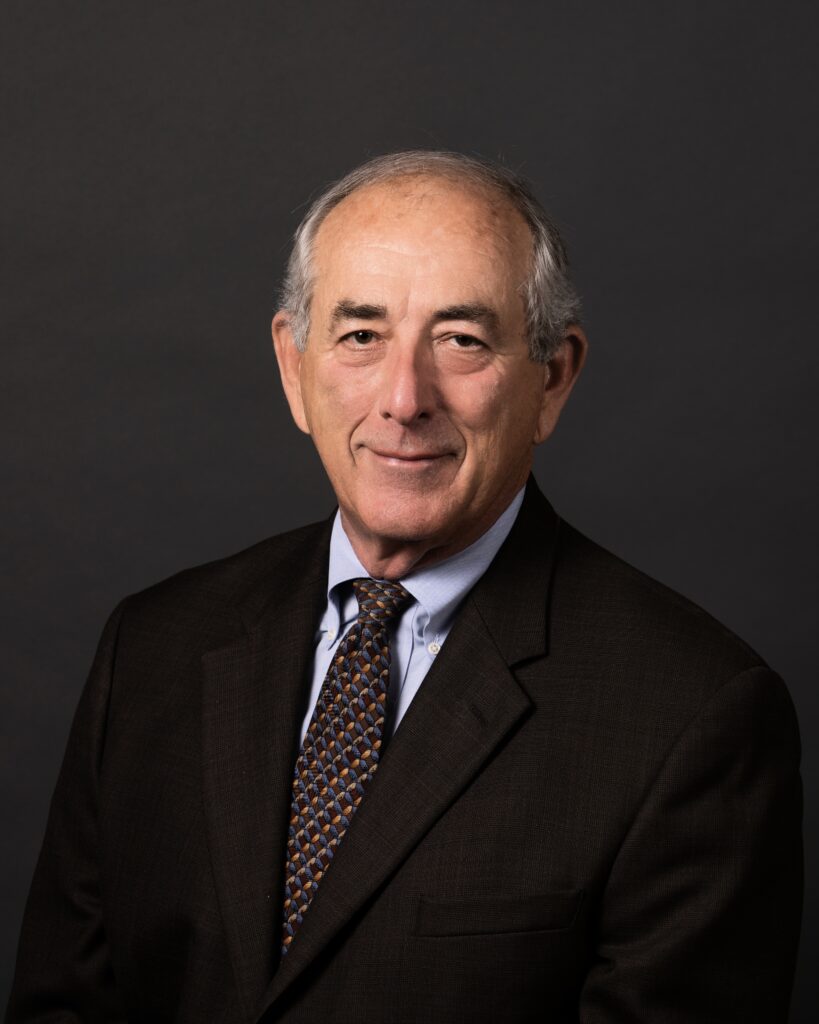
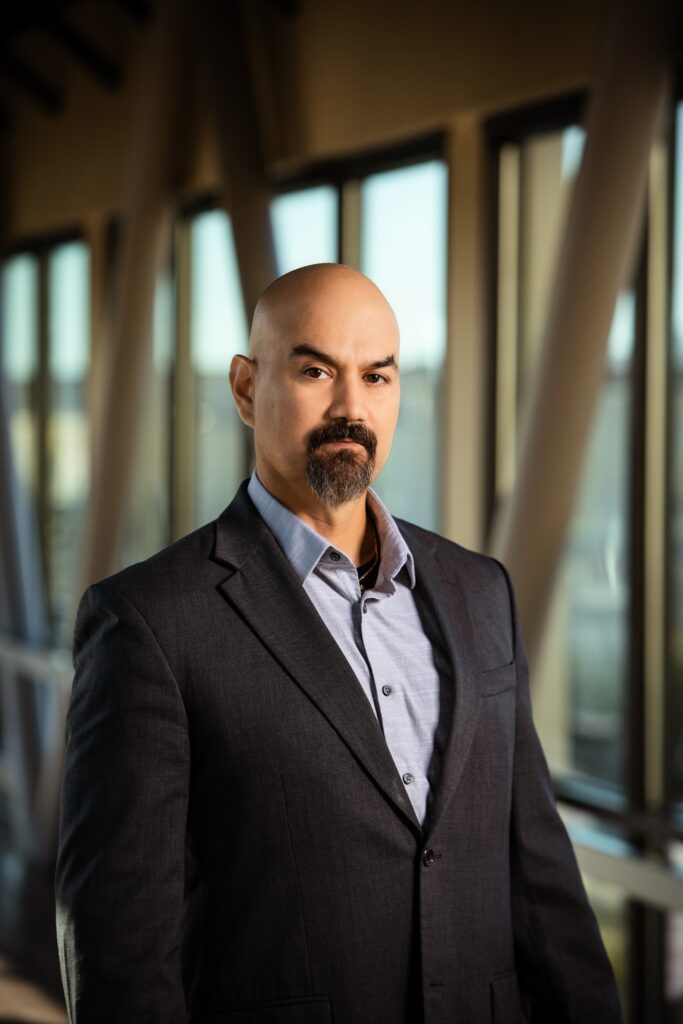
Every working professional needs a high-quality headshot for business cards, LinkedIn profiles, business websites, email footers, and more. But not all headshots are created equal. Lighting, posing, expressions, wardrobe, editing, and more all contribute to the perfect shot.
Studio
We are expanding our studio offerings in coming months, adding a large professional studio space for headshots, full-length portraits, sports portraits, boudoir, modeling, video recording, and more. Stay tuned for updates on this exciting expansion!
Location
Sometimes the best place to capture the “best you” is at your preferred location, whether that’s an office, an outdoor spot, or a place that has meaning to your or your business. We are always ready to go mobile.

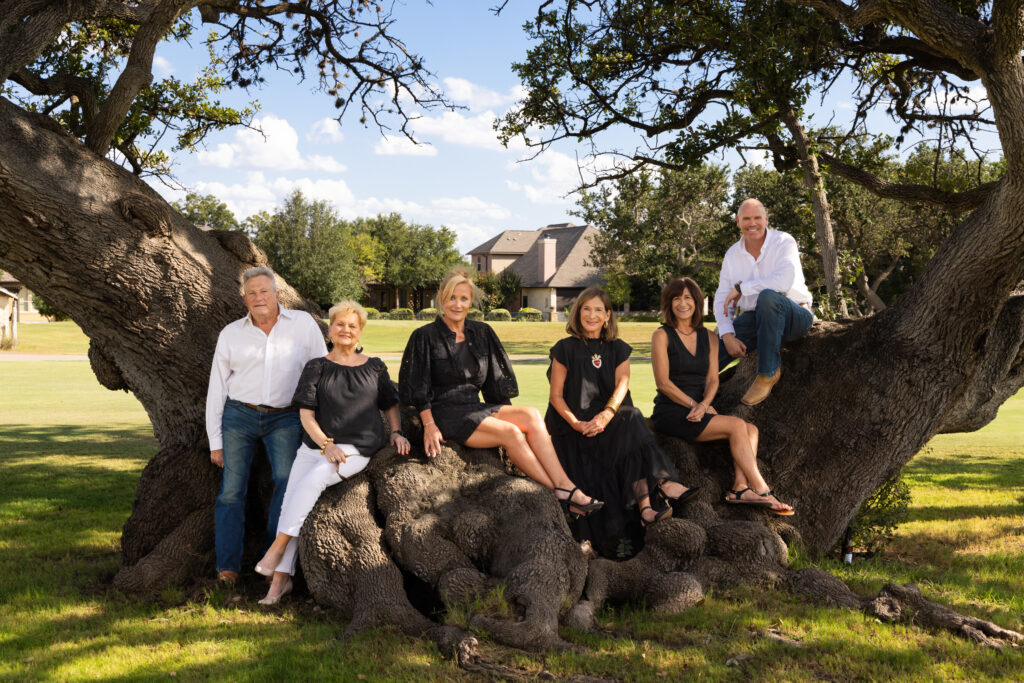
Above: The team at CT Realty in Comanche Trace pose on one of the most recognizeable icons in the development — the “old notty” tree.
What to expect from your portrait session…
We understand that portrait photography sessions can be stressful, and most of our clients don’t have their photos taken professionally on a regular basis, and need a bit of guidance about how to prepare for the shoot, what to wear, how to pose, and what to expect. Let’s put you at ease with a few helpful tips.
What to wear.
Choosing the right clothing is important, but it’s nothing to fret over. There are some pretty standard tips on what works and what doesn’t work depending on the type of shoot you’ve requested (for instance, headshots are different than full-length portraits and both are potentially different from an outdoor environmental shoot).
- Solid Colors: Choose solid-colored clothing over busy patterns or prints. Solid colors are timeless and tend to photograph well. They draw attention to your face and personality rather than your clothes.
- Neutrals and Pastels: Earthy tones, pastels, and neutral colors like black, white, gray, beige, and navy are safe choices that work well for most people. These colors create a clean and classic look.
- Avoid Bright Whites: Extremely bright white clothing can be distracting and may overexpose in photos. Opt for off-white or light cream shades instead.
- Coordinated Colors: If you’re having a group or family portrait, coordinate your outfits without being too matchy-matchy. Choose colors from a common palette to create a harmonious look.
- Layers and Textures: Adding layers, such as cardigans, scarves, or blazers, can add depth and interest to your photos. Texture can also help add dimension, so consider materials like lace, denim, or knits.
- Avoid Logos and Graphics: Clothing with large logos, text, or graphic designs can be distracting and take away from the focus on you. Opt for minimal branding or none at all.
- Flattering Fit: Choose clothing that fits well and flatters your body shape. Avoid overly baggy or tight-fitting garments. Tailored outfits often look the best in photos.
- Consider Your Style: Wear clothing that reflects your personal style and the image you want to convey. Whether you prefer a casual, formal, vintage, or contemporary look, choose attire that feels authentic to you. This is especially important for business portraits and headshots — what image do you want to convey to your clients?
- Mind Your Jewelry: Simple, timeless accessories can enhance your look. Avoid overly flashy or noisy jewelry that might distract from your face.
- Grooming: Pay attention to grooming and personal care. Ensure your hair and makeup are done in a way that complements your outfit and the overall theme of the photoshoot. Men, consider your facial hair (including hair that might come from somewhere where we don’t like hair to come from, like ears and noses). Trim and shape your beard, check your eyebrows, and fix your head hair.
- Plan Ahead: Try on your chosen outfit before the day of the photoshoot to make sure it looks good and feels comfortable. Iron or steam any wrinkles, and check for stains or damages.
- Bring Options: It’s a good idea to bring a few outfit options to the studio. This way, you can consult with the photographer and choose the one that works best in the studio lighting.
- Shoes Matter: If your full body will be visible in the photos, choose shoes that complement your outfit. Make sure they are clean and in good condition.
- Weather Considerations: If you’re shooting outdoors or in a location with variable weather, dress appropriately for the conditions, and have layers on hand.
- Communicate with the Photographer: Discuss your clothing choices and the style of the photoshoot with your photographer in advance, if you’re unsure. We can offer input and suggestions based on our experience.
How to pose.
We’ll certainly help you pose and offer suggestions on how to improve your stance for the best photo outcome, but it does help to be mindful of these tips and suggestions ahead of time.
- Maintain good posture. Typically, back straight, shoulders relaxed, avoiding slouching, conveying confidence.
- Chin placement. Extending your neck slightly forward and lowering your chin a bit helps define your jawline and avoids the appearance of a double chin. Even the thinnest among us can have a double chin if the posture is incorrect — we’ll avoid this!
- Relax the jaw. Tension can be noticed in a headshot. We’ll exhale gently as the photo is captured.
- Slight angles for the face. The angle will make a pretty big difference in the photos. We’ll try a few and see what works for your look.
- Eyes. The window to the soul, as they say! Try to look just above the camera lens. Smile with the eyes.
- Smiles. Practicing a relaxed smile is so important to your session. Do this in the mirror. Avoid the huge toothy grins. If you’re going for a more relaxed or serious look, relax the lips.
- Practice, practice, practice. Look in the mirror and try various poses. Maybe even take a selfie, but nothing from any extreme angle. Get comfortable with your smile, your poses, which side of your face you prefer, and how you want to hold your chin/jaw. Practice makes perfect.
Fix it in post?
So many of our clients tell us, “oh just fix me up in Photoshop and make me look good.” While there is a lot we can do to fix things like skin complexion, stray hairs, and even some shaping, we want to get it right in-camera by placing you in a flattering pose and getting everything right before we click the shutter.
Post-production, editing, and Photoshop work can get expensive depending on what needs to be done, especially for a shoot with lots of photo deliverables. And sometimes this editing can start to make you look plastic or fake in some ways. So let’s start with the best input, and then the editing we will do can enhance you rather than create you!
What to expect — logistics.
We’ll set an appointment time with you in advance, and we do ask you to be prompt, because we may have other appointments after yours, and we don’t want to short-change your session!
When you arrive, we’ll have a space for you to freshen up, change clothes, or just to look in the mirror and fix your hair, etc.
Depending on the type of shoot you’ve chosen, we’ll start with headshots and then move to full-length portraits so that you have a chance to become a little more comfortable in front of the camera.
Most headshot/portrait shoots last a half-hour or so, unless we’re working with multiple scenes and outfits. We would have communicated with you in advance if we think the shoot will take more than a half-hour or so.
The editing doesn’t take place while you wait. Usually we’ll spend time over the next 24 hours culling the photos down to the best ones, and we’ll send you a private link to a private gallery with the unedited (or very lightly edited) proofs.
Using the proof gallery, you can make your selections of the ones you’d like to keep (or potentially use). We’ll edit those seletions a bit further and then we’ll provide you with a final private gallery and a download link.
That’s it! It’s not as scary as it may sound 🙂